

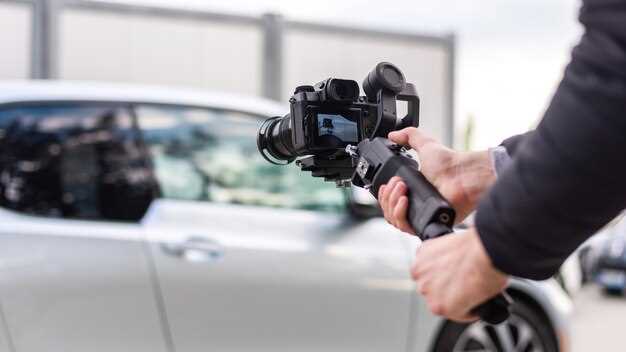
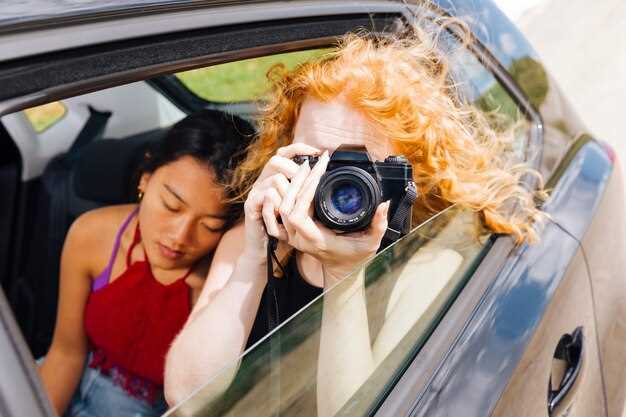
Automotive photography is an art that captures the essence of vehicles in motion and at rest, showcasing their design and performance. To effectively convey the beauty and engineering of automobiles, understanding optimal camera settings is crucial. Properly adjusted settings not only enhance the quality of the photographs but also bring out details that might otherwise go unnoticed.
Mastering the camera settings specific to automotive photography can significantly elevate your work. Key aspects to consider include aperture, shutter speed, ISO, and white balance. Each of these settings plays a vital role in achieving the desired outcome, whether it’s freezing a car in motion or beautifully blurring the background to emphasize the subject.
In this article, we will delve into the most effective camera settings tailored for various automotive photography scenarios. Whether you are shooting a static car at a show or capturing the thrill of a vehicle on the track, knowing how to manipulate these settings will help you create stunning images that resonate with car enthusiasts and casual viewers alike.
Choosing the Right Aperture for Capturing Detail and Depth
When it comes to automotive photography, selecting the appropriate aperture is crucial for obtaining stunning images that highlight the intricate details of the vehicles. The aperture, measured in f-stops, determines how much light enters the camera and affects the depth of field in a photograph.
Wide Apertures (Low f-stop numbers): Utilizing a wide aperture, such as f/2.8 or f/4, allows for a shallow depth of field. This is particularly useful when you want to isolate the car from its background, creating a smooth bokeh effect that draws attention to the vehicle itself. This technique works well for close-up shots of automotive details, such as emblems or custom features, ensuring the viewer’s focus remains on the car while minimizing distracting elements around it.
Narrow Apertures (High f-stop numbers): In contrast, a narrow aperture like f/11 or f/16 increases the depth of field, allowing for more of the scene to be in focus. This setting is ideal for landscape shots that include the car as part of a broader context, such as a picturesque road or a scenic backdrop. With a higher f-stop, the details of both the car and the environment are crisp and sharp, creating a well-rounded composition that tells a fuller story about the automotive subject.
Balancing Light and Depth: When choosing your aperture, it’s essential to balance the amount of light you want with the desired depth of field. A wide aperture lets in more light, which is beneficial in low-light situations, but be cautious as it can lead to overexposed images in bright conditions. Conversely, while narrow apertures enable better focus across the scene, they may require longer shutter speeds or increased ISO settings to compensate for reduced light intake.
Ultimately, the choice of aperture in automotive photography directly influences the artistic vision of your images. Experimenting with different settings will help you understand how each aperture affects your photos, allowing you to capture the complexity and beauty of the automotive world effectively.
Shutter Speed Adjustments for Action Shots in Automotive Photography
Capturing dynamic action shots in automotive photography requires careful consideration of shutter speed settings. The right shutter speed can freeze a moment or create a sense of motion, making it essential to choose appropriately based on the scene.
For high-speed action, such as a car racing by, a fast shutter speed of at least 1/500th of a second is recommended. This setting helps to freeze the vehicle in motion, preventing any blur and ensuring clarity in the details. If the goal is to capture the expressiveness of speed, adjusting the shutter speed to something like 1/1000th of a second can enhance the effect.
In contrast, to convey movement and drama, a slower shutter speed can be employed. Settings around 1/30th to 1/60th of a second allow for intentional motion blur, highlighting the speed of the automotive subject. Panning techniques can be particularly effective here, where the camera moves horizontally with the subject, creating a sharp focus on the vehicle while blurring the background.
It’s vital to adjust the aperture and ISO settings accordingly when modifying shutter speed. A faster shutter speed may require a wider aperture or higher ISO to maintain proper exposure, while a slower shutter speed may need a narrower aperture or lower ISO to prevent overexposure.
Always consider the surrounding lighting conditions when making shutter speed adjustments. In bright daylight, faster shutter speeds will generally work best, while in lower light conditions, adjusting to slower speeds can capture more light but at the risk of motion blur if not managed effectively.
Ultimately, mastering shutter speed for action shots in automotive photography involves practice and experimentation to find the perfect settings that resonate with the photographer’s artistic vision.
Best ISO Settings for Various Lighting Conditions in Car Photography
When capturing stunning images of automobiles, the right ISO settings play a crucial role in achieving optimal results. The ISO setting controls the camera’s sensitivity to light, influencing the overall exposure and image quality. Different lighting conditions require specific ISO adjustments to enhance the details and colors of the vehicle.
Bright Daylight: In bright sunlight, you can afford to use a low ISO setting of 100-200. This will help maintain excellent image clarity and minimize noise, allowing the vibrant colors of the car to stand out. Utilize a fast shutter speed to avoid overexposure while keeping the details sharp.
Overcast Skies: On cloudy days, the light is softer, and you might need to increase the ISO to 400-800. This adjustment compensates for the lower light levels, allowing for better exposure without too much risk of noise. This setting is ideal for capturing the intricate details of the car’s design with a slightly longer shutter speed.
Indoor Settings: Inside showrooms or garages, where lighting can be dim, it’s advisable to set your ISO between 800-1600. This enhancement boosts the camera’s sensitivity, helping to capture crisp images without motion blur. Remember to use a tripod if possible, as higher ISOs can still lead to noise in photos.
Night Photography: For automotive photography at night, you may need to increase your ISO further to 1600-3200. This higher sensitivity allows your camera to gather enough light, making it possible to photograph vehicles under artificial lighting. Be cautious of noise levels; post-processing software can help mitigate this issue if needed.
In summary, understanding the impact of ISO settings across various lighting conditions can significantly enhance your car photography. Always consider the environment and adjust your ISO accordingly to capture the essence of the automotive world in stunning detail.


