

As the sun sets and darkness envelops the landscape, a new world of possibilities emerges for enthusiasts of custom motorcycles. The night offers unique challenges and extraordinary opportunities for capturing the raw essence and craftsmanship of modified bikes. Illumination takes on a pivotal role, transforming ordinary scenes into visually stunning compositions that highlight the intricate details of custom builds.
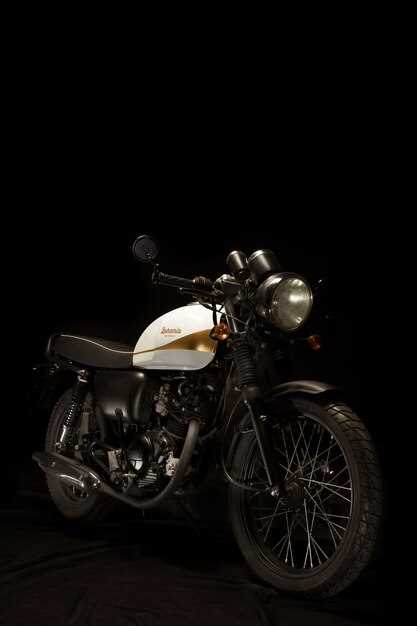
When shooting modified motorcycles after dark, the interplay of light and shadows becomes essential. The strategic use of ambient light from street lamps or the warm glow of neon signs can bring out the sleek lines and robust designs of these bikes, emphasizing their distinctive features. The night setting allows photographers to create dynamic images that showcase the spirit and individuality of each custom motorcycle.
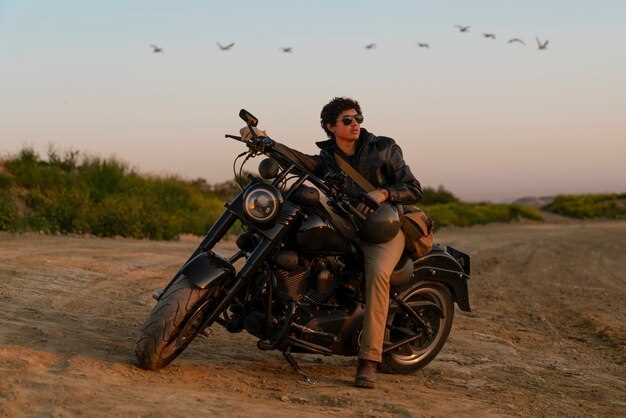
Embracing the darkness not only elevates the aesthetic appeal of the motorcycles but also invokes a sense of adventure and freedom that resonates within the motorcycle culture. The vibrant energy of a night ride, combined with expertly crafted visuals, invites viewers to appreciate the artistry involved in the customization process. Capturing these moments requires a keen eye, technical skill, and, most importantly, an understanding of the unique atmosphere that night shooting can provide.
Techniques for Capturing Custom Bike Details in Low Light
Capturing the intricate details of modified motorcycles during the night presents unique challenges, but with the right techniques, you can create stunning images that highlight their beauty. One effective approach is to use a tripod to stabilize your camera, allowing for longer exposure times without the risk of motion blur. This is particularly beneficial in low-light conditions where ambient light may be limited.
In addition to stability, consider utilizing a wide aperture to permit more light onto the sensor. This not only enhances the exposure but also creates a shallow depth of field, allowing the custom details of the bikes to stand out sharply against a blurred background. Experimenting with different focal lengths can also help you find the most flattering angle that showcases the bike’s unique features.
Light painting is another creative technique that can dramatically enhance your nighttime motorcycle photography. By using a flashlight or LED light, you can selectively illuminate specific parts of the bike while keeping the overall scene dark. This method not only emphasizes the custom elements but adds a dynamic aspect to your images.
ISO settings play a crucial role in low-light photography as well. Increasing the ISO can help capture more light, but be cautious, as this can introduce noise. Start at a moderate ISO and adjust as necessary based on your camera’s capabilities and the available light.
Lastly, consider the ambient lighting in your environment. Utilizing street lamps, neon signs, or any available light sources can create an atmospheric backdrop for your bike shots. Positioning your motorcycle strategically in relation to these light sources can produce captivating effects and highlight the sleek lines and modifications of the bikes you are photographing.
Choosing the Right Equipment for Night Photography of Motorcycles
When capturing stunning shots of bikes after dark, the right equipment is essential to achieve the desired effects and clarity. Here are key components to consider for effective night photography:
Camera: A camera with a large sensor, such as a DSLR or mirrorless model, is preferable due to its superior performance in low-light conditions. Look for options that allow manual control over settings, as this flexibility is crucial for night shooting.
Lens: A fast lens with a wide aperture (f/2.8 or lower) is ideal, as it lets in more light, enabling sharper images in darkness. Consider using a prime lens for better quality, or a versatile zoom lens that covers a range of focal lengths.
Tripod: Stability is vital when photographing bikes at night. A sturdy tripod prevents camera shake during longer exposures, allowing for clearer images. A tripod with adjustable height and flexibility will help you capture creative angles.
Remote Shutter Release: To eliminate vibrations from pressing the shutter button, use a remote shutter release or the camera’s timer function. This technique ensures sharp images, particularly during long exposures.
Lighting Gear: Employ additional light sources to enhance your images. Consider using external flash units or LED lights to illuminate the bike and create dramatic shadows. Softboxes can help diffuse harsh lights and provide a more flattering illumination.
Reflectors: Using reflectors can help bounce existing light onto the motorcycles, highlighting their curves and details without overexposing certain areas. This technique works well when combined with artificial lighting.
Filters: Utilize neutral density filters to control exposure and create artistic effects. These filters allow for longer exposure times without overexposing the image, helping to capture the beauty of light trails or ambient city lights in the background.
In conclusion, equipping yourself with the right tools will significantly enhance your ability to capture striking images of bikes at night. Prioritize quality gear that allows for creativity and flexibility to make the most of the nighttime environment.
Editing Tips for Highlighting Custom Motorcycle Features in Night Shots
When capturing the essence of modified bikes at night, post-processing plays a crucial role in emphasizing their unique features. Start by adjusting the exposure to ensure the details are visible without losing the dramatic effect of the nighttime ambiance. A slight increase in exposure can bring out the intricate designs and modifications that make each motorcycle stand out.
Next, utilize contrast to define the bike’s lines and contours effectively. By increasing the contrast, you can make chrome parts glisten and matte finishes pop, enhancing the visual appeal of the custom elements. Pay attention to the highlights and shadows; a well-balanced approach will add depth and dimension to your images.
Color grading is another essential step. Use warm tones to accentuate the bike’s paint job and to create an inviting atmosphere. If the motorcycle features LED lights or neon accents, adjust the saturation to make those colors more vibrant, drawing the viewer’s eye to specific areas that showcase the bike’s modifications.
Incorporate sharpening tools to enhance the details further, especially around the fenders, engine, and any unique components. Be careful not to overdo it; subtlety is key to maintaining a natural look. A selective sharpening technique, where you apply it only to certain parts of the bike, can effectively highlight essential features without making the entire image appear overly processed.
Finally, consider cropping your images to focus on the motorcycle itself, eliminating any distractions in the background. A well-framed shot allows viewers to appreciate the customizations without unnecessary elements diverting attention. Remember, the goal is to celebrate the artistry of your modified bikes while capturing the enchantment of the night setting.


